In the fall semester of my senior year, I took a wood carving class and created an illustration that presented many challenges due to executing a simple yet complex concept. However, by annotating and sketching my carving process chronologically, I succeeded in this project.
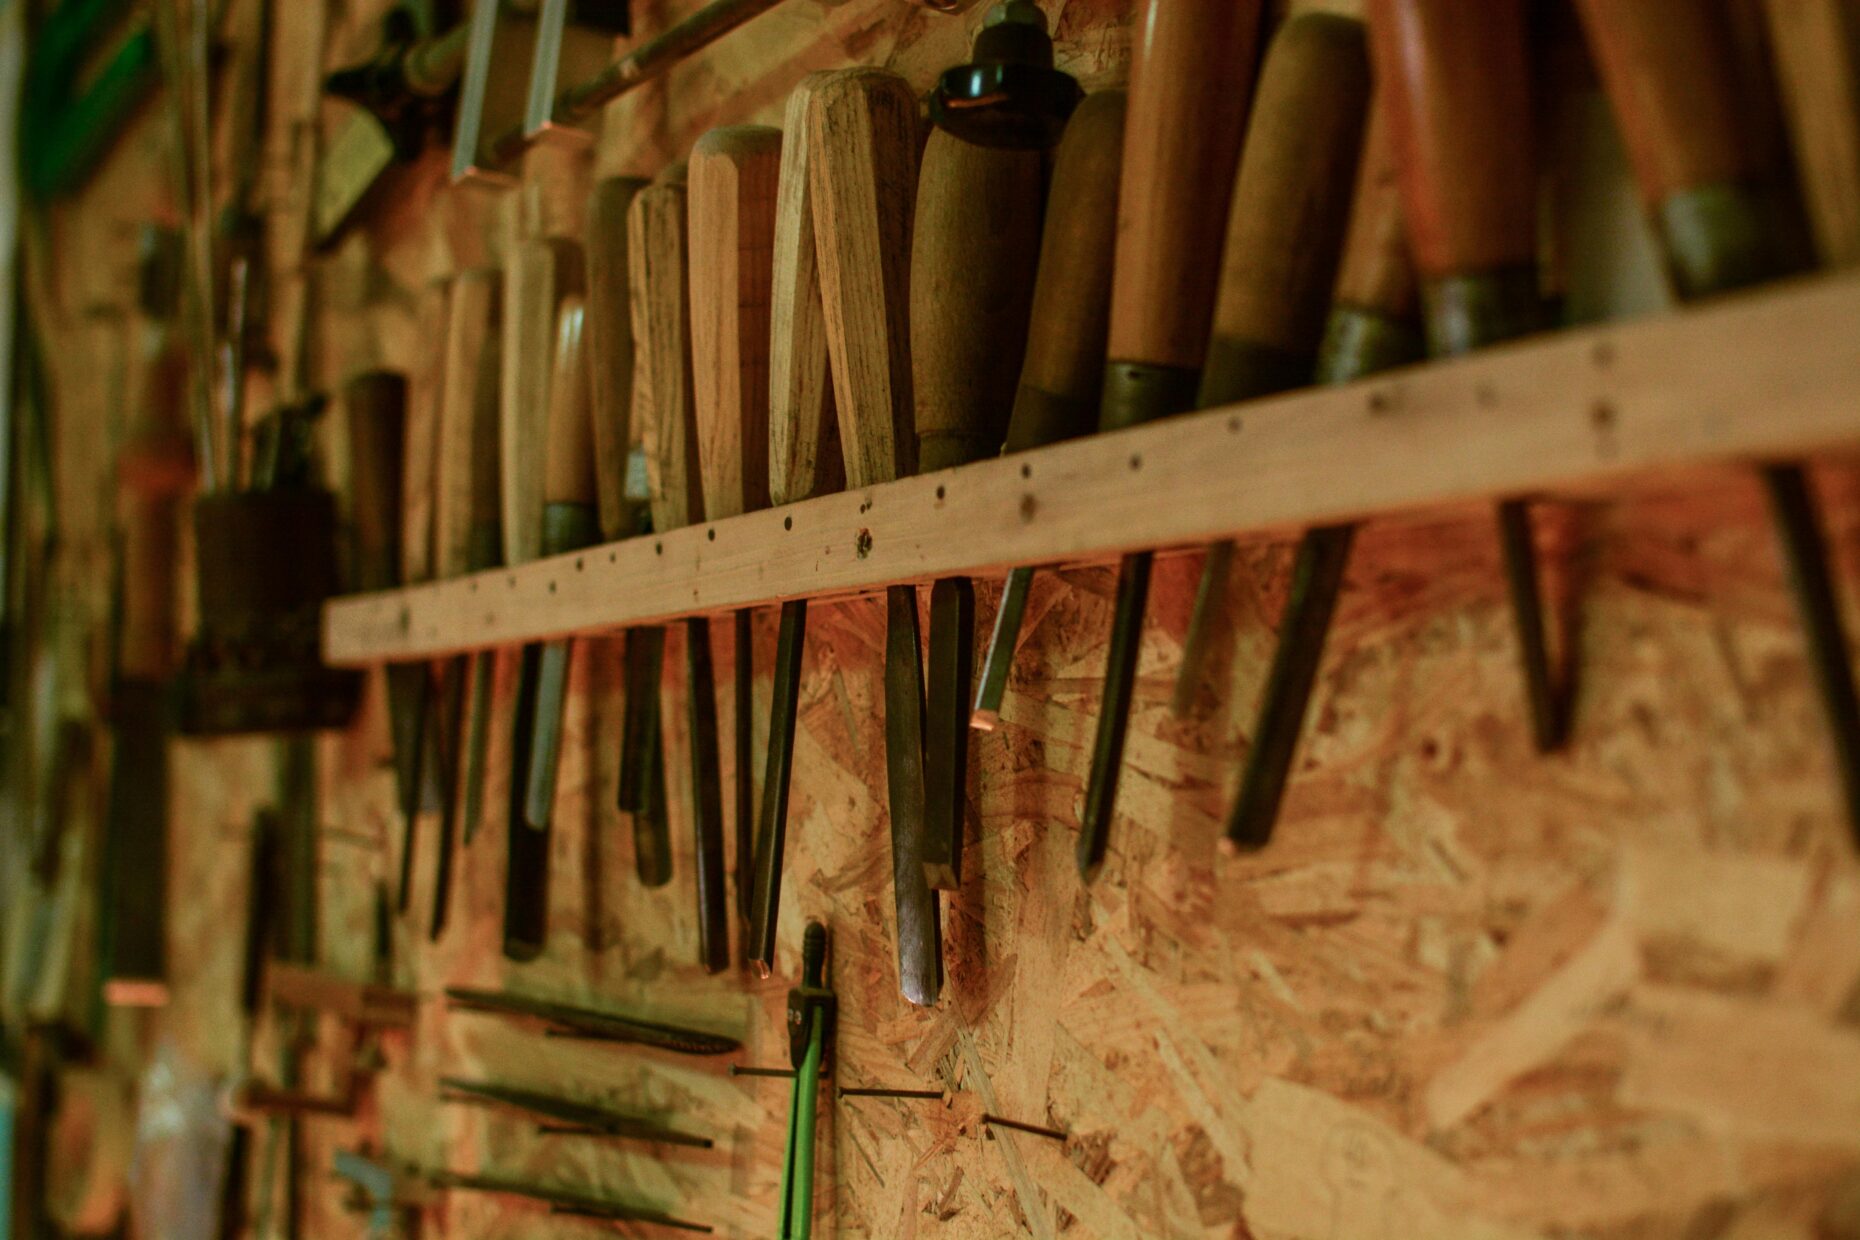
The goal is to carve and print a woodblock illustration combining negative and positive space. I started with a test print and struggled a lot making it. The illustration I carved (Photo 1) was illegible due to not understanding the difference between negative and positive space The confusion came from the physical application of carving out layers of wood: when carving out of wood, my mind would think I was cutting off areas that would be inked black and thus make negative space. Instead, the areas I carved were white due to carving positive space. I had to rethink this process and try again.
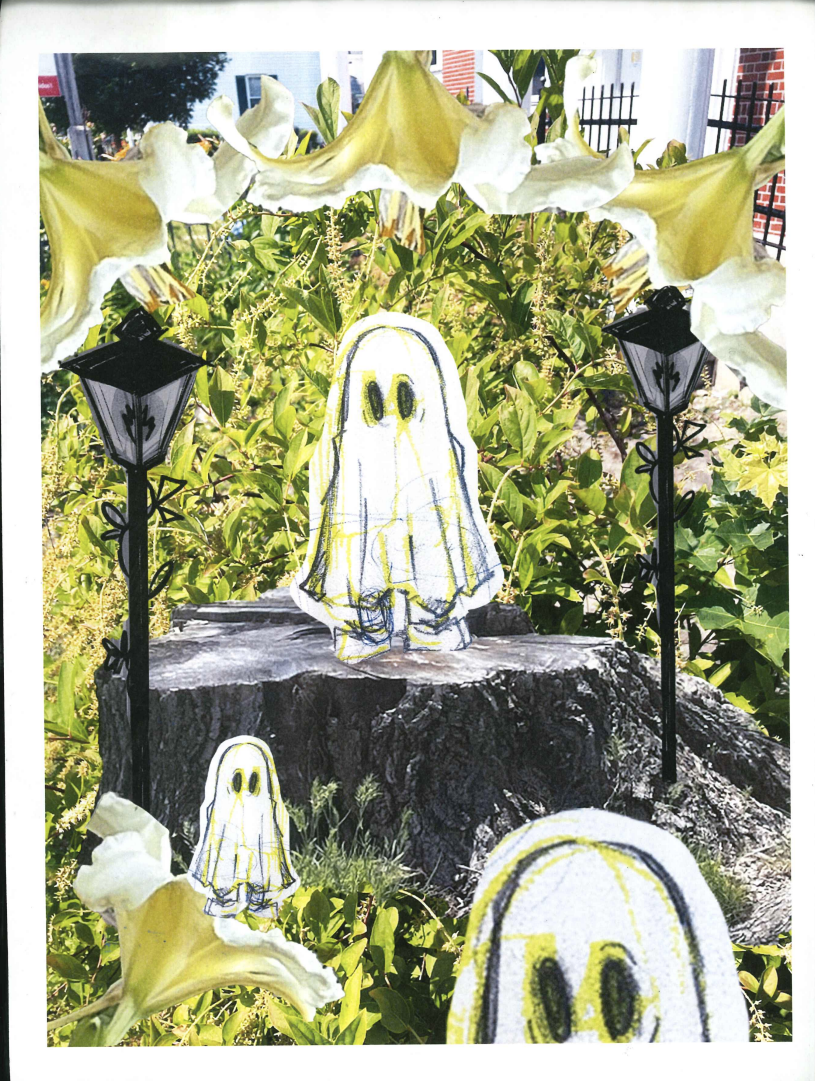
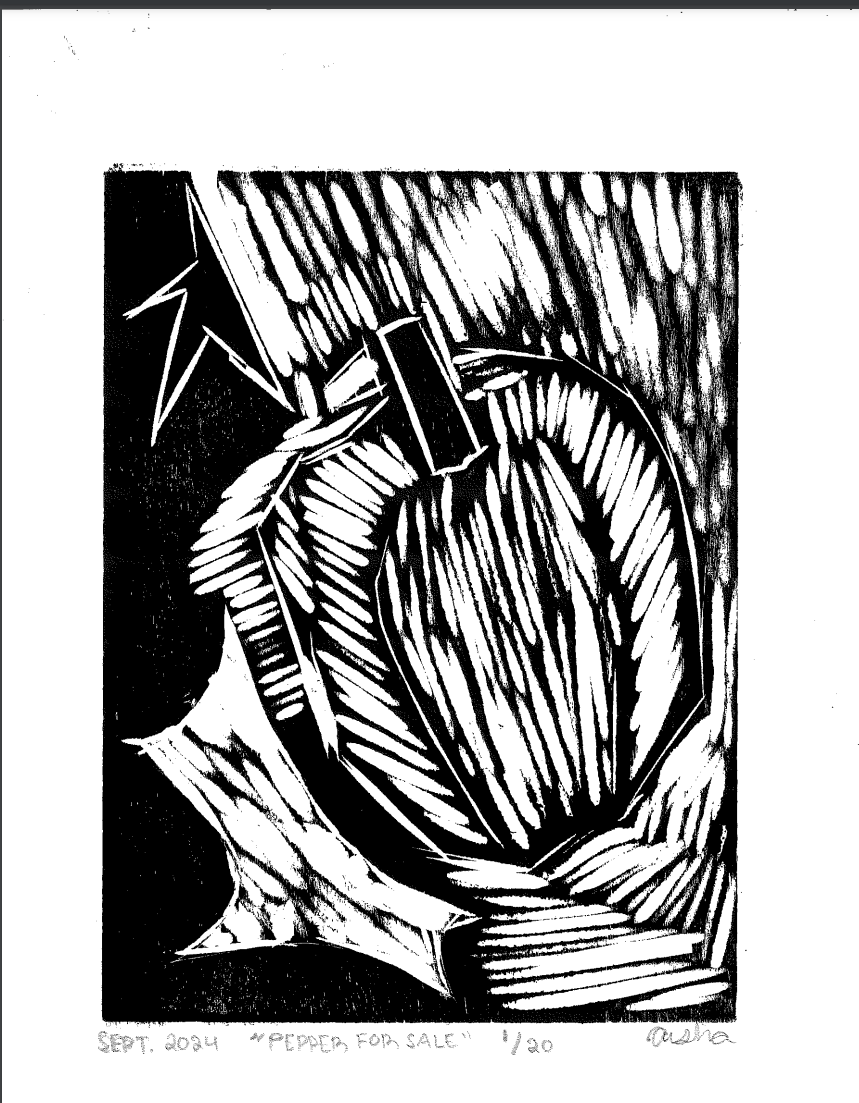
To keep myself organized, I made a digital collage in Photoshop (Photo 2) of what I wanted my final product to look like and printed it out. It contains ghosts and doodles wearing chunky shoes while being surrounded by nature. I used that printed concept and drew a clean sketch of the same size as the final block to have the right proportions. I annotated the sketch (Photo 3) in a red marker of what needs to be carved out to keep my white areas. I would either write “carve” or “c” to keep it abbreviated. I used this as a guide to fall back on while carving in case I forgot.
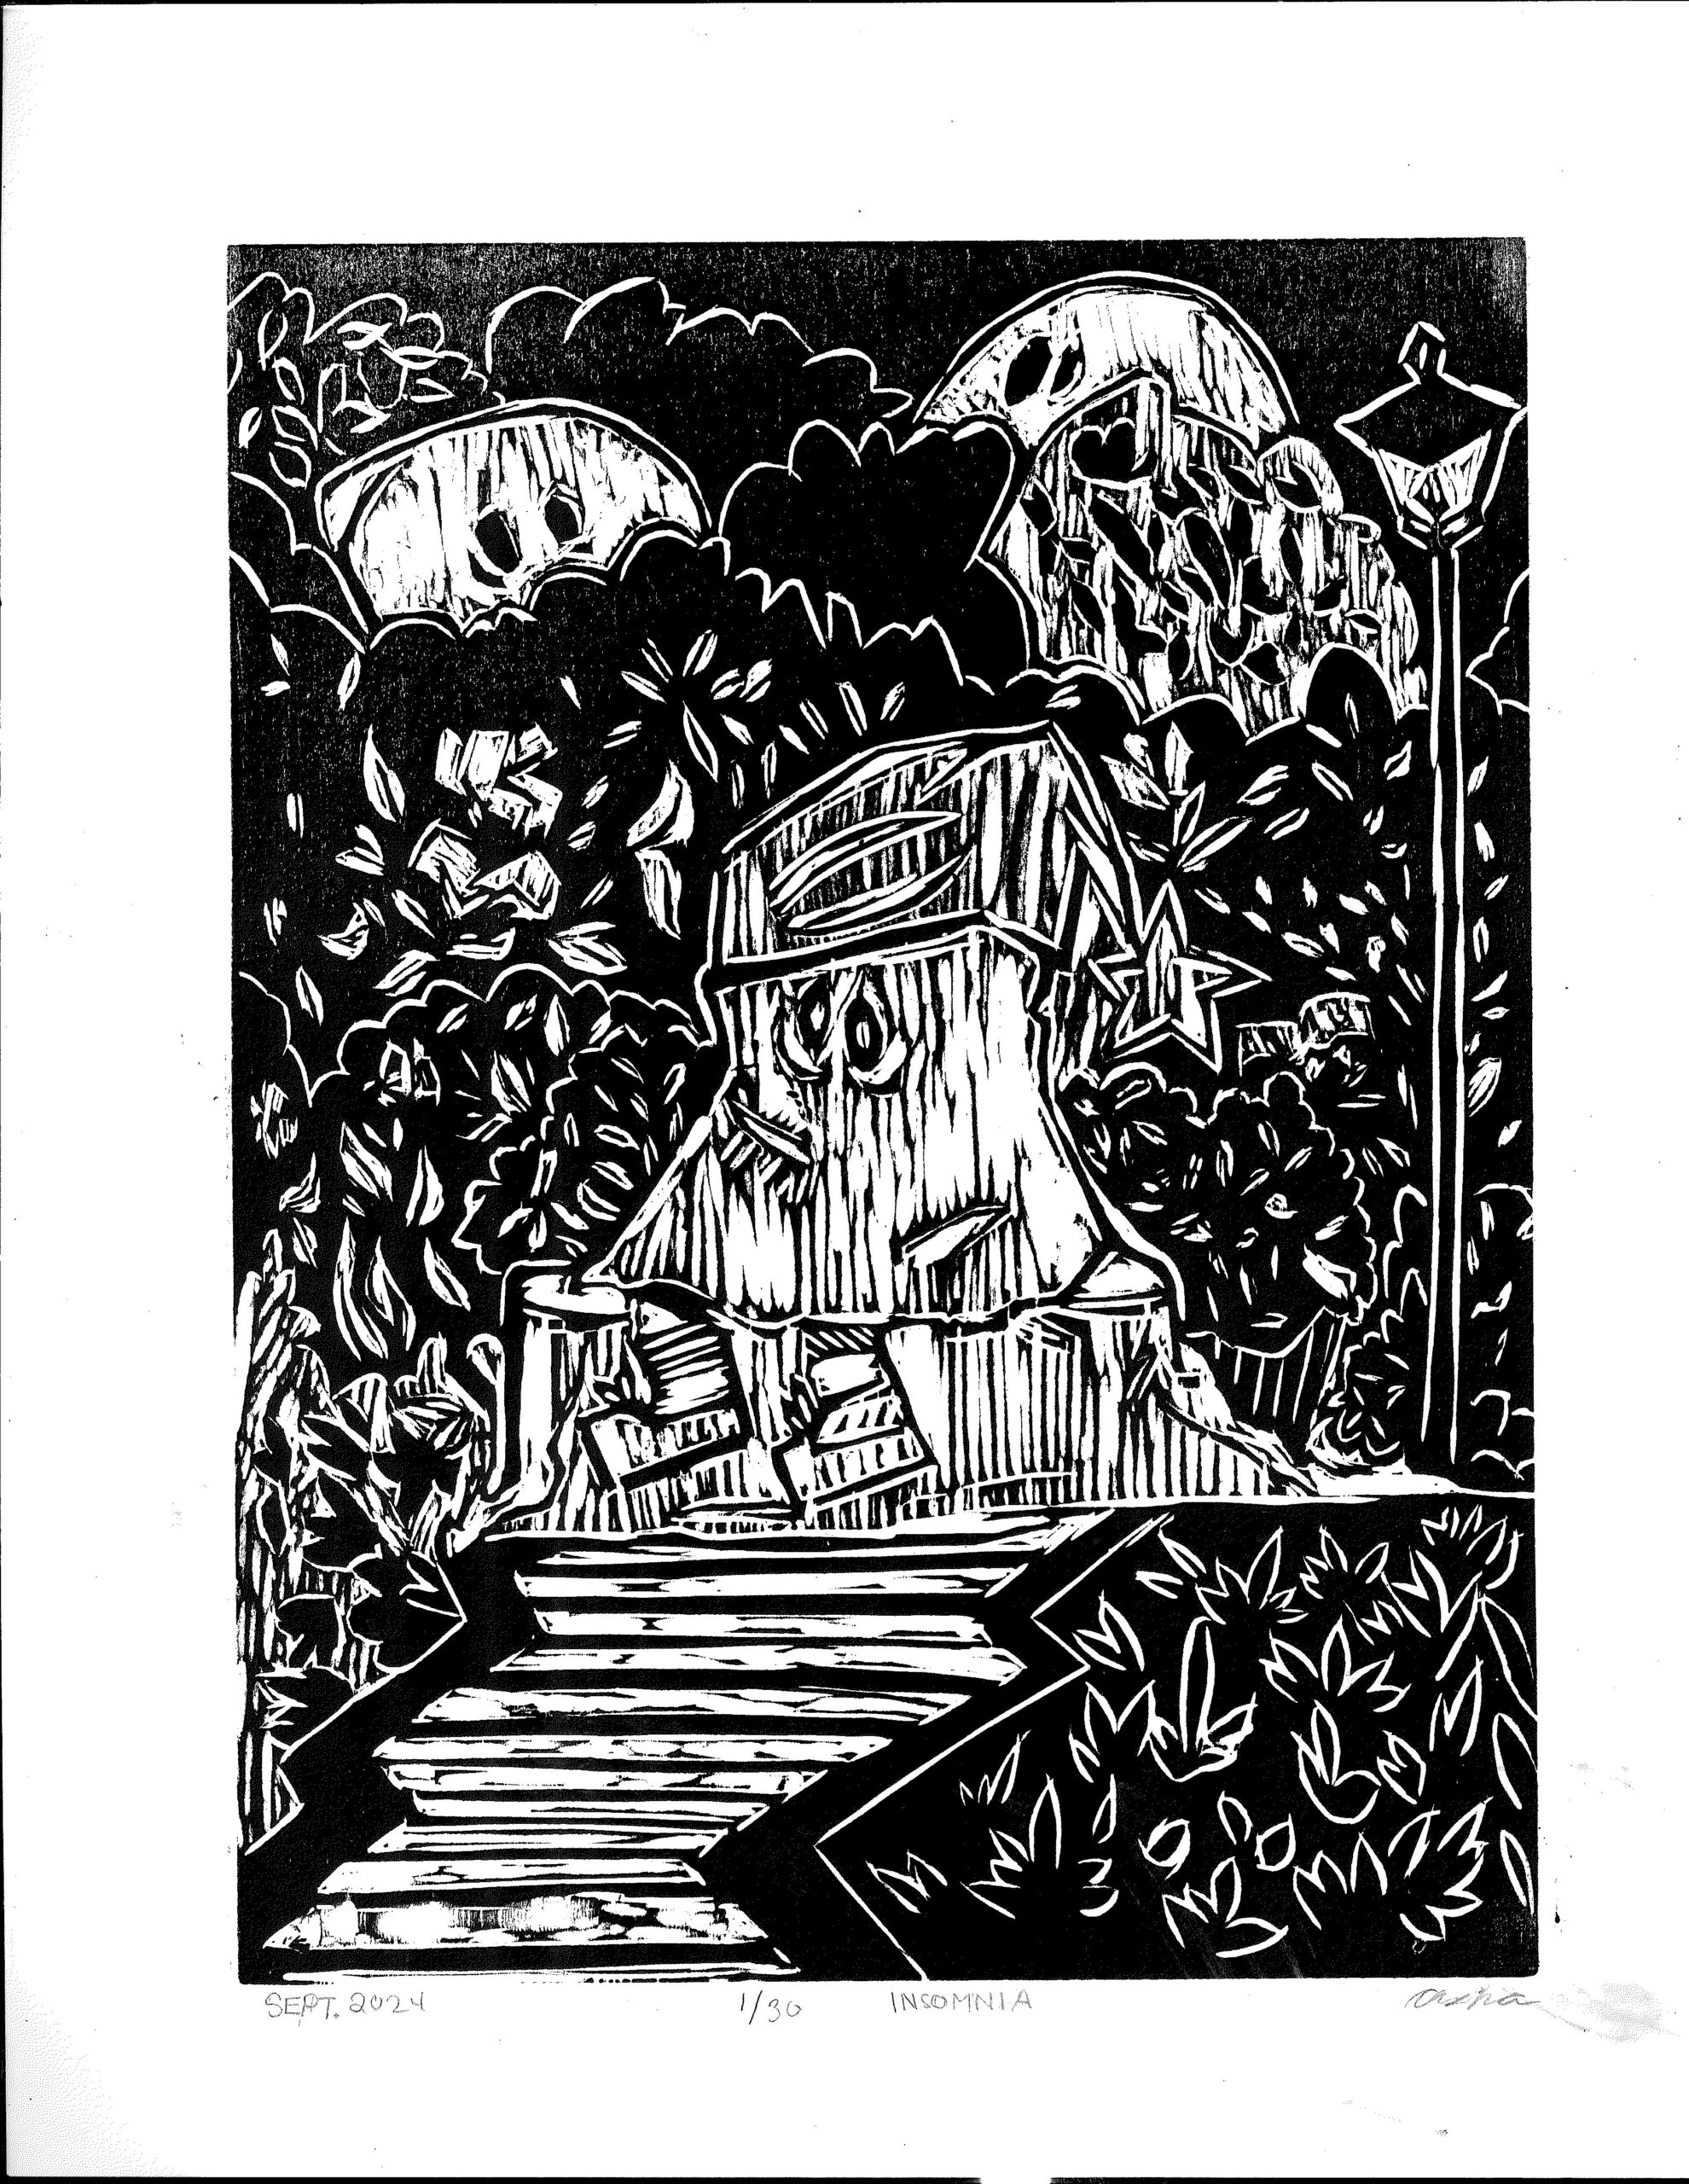
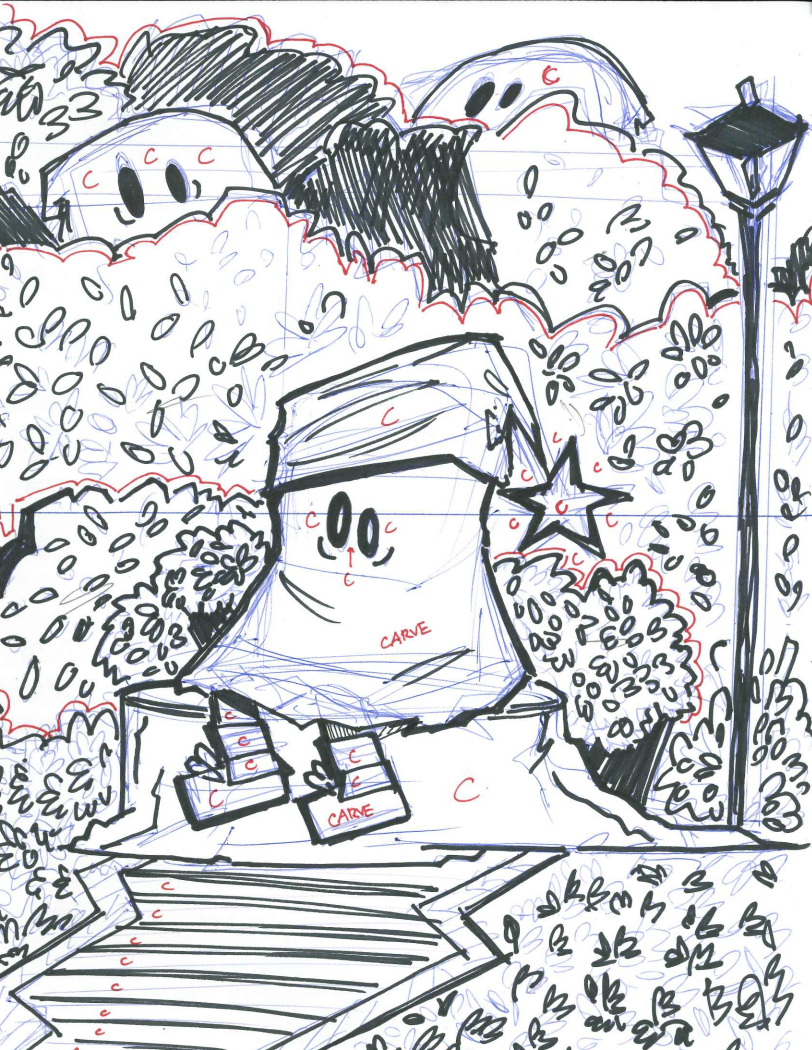
After learning my confusion from the test print and organizing my process through sketches and annotations, I created the final product (Photo 4) that matched my expectations. Since then, I continued to switch between sketching and annotating as part of my process when trying to problem-solve other creative projects or activities to keep myself organized and break down a complex concept.